Showing posts with label curious george. Show all posts

Monday, August 27, 2012

Party Caramel Apples: Recipe and How to

Pin It Now!

First, A Story of Failure (Learn from My Mistakes)

For my son's 3rd birthday party I had it in my head that I had to make caramel apples.  Had to be homemade, had to have chocolate, and I had to make them for the party.  No negotiating, I just had to make them.  In preparation for making them, I tried a few caramel recipes.  The first recipe I tried  smelled good, went on the apples well enough, but when it hardened, it turned into a grainy disaster, that crumbled when you bit, pulled, or chewed it, instead of being that wonderful chewy caramelly goodness.

They look ok, the ones that the caramel actually stayed on, but they had an awful texture.
 I wasn't sure what I had done wrong.  I didn't have corn syrup when I made this batch (one of the main ingredients), so in my infinite wisdom I looked it up on the internet how to substitute it, and the site I looked at said just add x amount of sugar and y amount of water in place of the corn syrup called for, and it will be all good.  Upon further reflection, and research, after this bombed batch, I found out that the site left out something important about subbing that for corn syrup:  the very important part about boiling those to things to a softball stage and THEN adding it to the other ingredients in place of corn syrup.  Anyways, two lessons learned: 1) don't believe every substitution you see on the internet. 2)  Just go out and by an ingredient if it is going to be that crucial to success.  When making candy, I have decided that there are some substitutions that can't be made, it is too much chemistry dependent.


On to the Party Caramel Apple Success and Recipe

Ok, enough blabbering about my first epic caramel fail.  I went back to the drawing board the next morning (literally got up uber early and set out to try again, I don't like to fail), and tried for redemption.  Correct ingredients in hand this time, I made another batch, and it came out beautiful!  Best caramel ever!  I made half a batch so I wouldn't waste ingredients if it was a failure, and I made them into little caramels that I wrapped up (didn't have any more apples, as I had wasted them all the night before).  Delicious!  This is the recipe I ended up using to make the caramel apples.

If you are going to wrap them up and give them as party favors like I did, I have included the items to do that.  They were the cutest party favors ever, everyone loved them, and I would do it again in a heart beat!  These would also be wonderful for halloween parties, just melt some orange candy melts instead of the white chocolate. If you end up having extra caramel left after you dip them all, line an 8x8" baking pan with parchment paper and just pour it right in and stick it in the fridge to firm up.

IF YOU LIKE THIS RECIPE, PLEASE DON'T FORGET TO PIN IT :)

Party Caramel Apples

Ingredients:

Caramel:
(Adapted from Chewy Caramel from All Recipes)
  • 1 cup butter or margarine
  • 1 pound light brown sugar
  • 1 (14 ounce) can sweetened condensed milk
  • 1 cup light corn syrup
  • 1 pinch salt
  • 1 1/2 teaspoons vanilla extract
Apples:
  • 12 medium-large tart-sweet apples like grannysmith
  • 12 bamboo caramel apple sticks (Michael's craft store)
Chocolate Drizzle:
  • 8 oz semi sweet chocolate chips
  • 8 oz white chocolate chips
Equipment:
  • Parchment paper
  • Candy thermometer
  • Clear plastic goody bags (Michael's craft store)
  • Cookie sheet tray
 Directions:

Apples:
  1. Prep the apples first thing.  Wash all apples well with dish soap or veggie cleaner, rubbing and rinsing well to get off the wax coating.  Dry the apples very very well.
  2. Place on a parchment lined cookie sheet tray and push a bamboo stick into each apple, parallel to the stem and right next to it as well.
Caramel:
  1. In a heavy bottomed saucepan over medium heat, combine the butter, brown sugar, sweetened condensed milk, corn syrup and salt. Bring to a boil, stirring constantly. Heat to between 242 and 245 degrees F.  Cook for 2 minutes at that temperature. Remove from the heat and stir in vanilla. 
  2. Let the caramel cool until it thickens slightly.  If you dip the apples in it while it is nuclear hot, it will just run right off onto the pan.  When it has thickened, take an apple and while tilting the pan with the caramel a bit,  spin the apple in the caramel until all the sides and most of the way up has been coated.
  3. Remove the apple from the caramel and give it a few spins and twist to allow any excess caramel to drip off.  Place back on the parchment paper lined tray and repeat with remaining apples.  If the caramel starts to get to stiff, but back on the stove on low, stirring, until it loosens up again.
  4. There will probably be bubbles that start to form on the apples, don't panic, the apples give off gasses that cause them, nothing is wrong.  Since it is being covered with chocolate, no one will even see.  If it really bugs, then use a toothpick and pop the bubbles if you would like.
  5. Let the apples harden at room temperature or in the fridge if you have room.
Chocolate and Decorating:
  1. When the caramel is almost done setting up on the apples, place the semi sweet chocolate in a microwave safe bowl and microwave in 30 second increments, stirring in between until melted.  Repeat in a separate bowl for white chocolate.
  2. In a sandwich size ziploc bag, pour the semi sweet chocolate in, twist the top closed, invert, and cut an 1/8 inch off the corner of the bag.  Drizzle the chocolate over the tops of the caramel apples, I used a swooping kind of motion, like making a cursive W all around the top.
  3. Repeat this same ziploc and drizzle procedure with the white chocolate.
  4. Once all the apples have been decorated, place in fridge and allow the chocolate to set up completely, usually an hour or two.
  5. Once it is set up, the apples can be  placed into the clear goodie bags, secured with the accompanying twist tie.
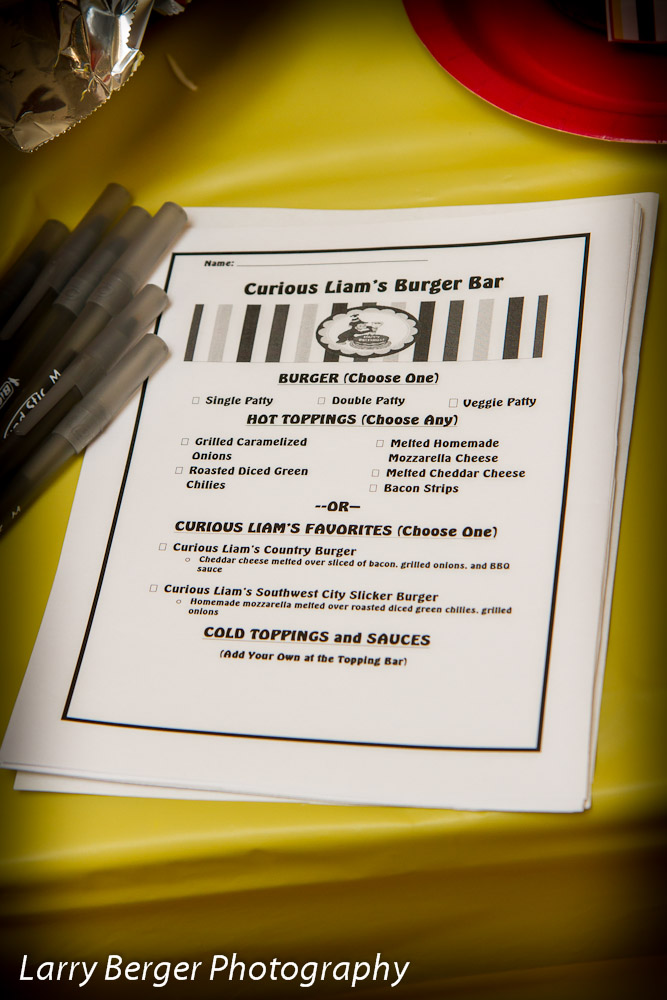
  6. I had printable stickers for my son's birthday theme (Curious George), so I stuck ones on that said "Thank you" so they would know it was a party favor for coming.  Worked great!
 
Finished party caramel apples.  Loved them!

Saturday, July 21, 2012

Curious Liam's 3rd Birthday Party

Pin It Now!
Today was the day!  The day my weeks and weeks of research (Ok...hours of research on Pinterest...I confess!), supplies collecting, baking, and crafting finally paid off.  Today was my son's 3rd birthday party!  We decided to go with a Curious George theme for several reasons.  One, my son acts more like a monkey than a toddler.  Two, he watches the Curious George shows ALL the time.  I have seen every one.  MANY times.  And there are probably 100 episodes.  At least.

Thanks to the help of my sisters, my mom and dad, my husband, and my mother-in-law, plus several borrowed items from other family members, we were able to pull off a reasonably successful birthday party I believe.

 Here are goody bags we did for the kids.  They had Curious George gummy snacks, glow stick bracelets, crayons, and a Go-Go applesauce squeezer.  Kind of random, but they were affordable, useable, and not completely comprised of junk food (though that is never a bad kind of gift bag).  We wrote the names of the kids on them before they left.
 Here is our "picture wall."  My dad is a professional photographer, so I tried to give him a decorated spot in which to take pictures of the guest with the birthday boy.  I love pictures (can you tell?  There are one or two here).
 My incredibly talented sister painted Curious George.  He was life size, and a dead ringer for the cartoon George.  My son was just enamored and amused and thrilled to have George at his party, and he made for cute pictures!!
 Got to have a close up.  My son has always kind of lived a monkey themed life.  We will never theme our kids room etc. after monkeys again though.  We had his nursery done in monkey theme, and all the stuff we got him  before he was born was monkey themed, and we ended up getting a baby/infant/toddler that sometimes acts more monkey than kid.  The next baby we had, his theme: Winnie the Pooh.  A nice, relaxed, laid back character :)
 Cupcake toppers!  All the printed designed items were from Photo designz  on Etsy.  Great great value, and the printables were fantastic!
 His favorite candy...these and Starbursts.
 This banner was a pain.  It went so much better in my head than it did in real life.  That said and done, after many re-doings of tape and string, we got it up, and I absolutely loved it.  The whole thing said "Happy 3rd Birthday"
 Happy!
 This is a family staple at parties.  It is our version of 7-layer dip, affectionately dubbed "Dave's dip" for the uncle that brought the recipe home from home economics class one day.  Today, it was Jungle dip!  (Those are olives on top...just sayin'.  I thought I bought sliced...oh well.)  We did these individual servings and had individual brown paper bags of chips to go with them.  Portable, individual, and tasty!  Bring on the double dipping to your hearts content!
 We served burgers for lunch.  This is a shot of the menu that I made for people to order their burgers.  They got to choose from a single or double patty (or veggie), their choice of hot toppings (bacon, green chilies, caramelized onions), and cheese (homemade mozzarella, cheddar cheese).  We also made up two "Curious Liam Specials."  The guests marked down the toppings they wanted, and we cooked to order.  Then they got to help themselves to the cold toppings bar we had out also.  Homemade hamburger buns, homemade BBQ sauce, homemade mozzarella cheese (yes, homemade.  There is a previous blog post on it if you don't believe me), caramelized grilled onions, roasted diced green chilies, maple bacon, cheddar cheese, and all the regular burger fixin's as well.  These made for some tasty burgers if I do say so myself. Sorry there isn't a picture...no waited long enough to eat their burger for a picture.  My husband the grill master slaved away (and I mean SLAVED away) at the BBQ for a long time in 95+ degree heat (not including the 450 degree heat of the BBQ) cooking all the onions, peppers, burgers, and bacon.  He was such a trooper and it wouldn't have been the awesomeness without his grilling expertise. 
 Homemade dill pickles. 
 This was fruit salad in little waffle cone bowls.  So good, so easy, and so fun!
 On to the desserts...I love desserts by the way.  This is the cupcake spread.  We had vanilla with meringue frosting, and devils food cupcakes with meringue frosting.  The cupcake toppers were part of the printables package from Print Designz, as well as the buffet labels.
 Close up!

 I made caramel apples with chocolate and white chocolate drizzle for party favors for the adults.  Homemade caramel for them of course.  This was one of my favorite parts of the whole party spread, I was so happy with them.
 I was lucky enough to find monkey cupcake liners.  Who knew, right?
 For a monkey party, you must have banana something.  My banana something--frozen chocolate dipped bananas.  Some were plain, some were rolled in peanuts, and some were rolled in Reese's peanut butter cup morsels.
 The whole dessert spread table. 
The last dessert we had was vanilla milkshakes.  I made homemade chocolate sauce, and homemade caramel sauce (Oh my gosh...I wish I could have an I.V. of that caramel sauce...) for people to drizzle in if they wanted to flavor it.  These were a big hit and were gone as soon as I turned my back.  It was funny.

I tried to get the best deal on everything, and spend the least amount I had to while getting what I really wanted.  This involved many trips to Walmart (the shake cups, trays, candy jars, ribbon, and colored table cloths all Walmart, and under a dollar each), Target (napkins, dessert and appetizer plates), Sam's (squeeze bottles, cups for the dip, red dinner plates), and more stores too.  It was so nice to have a themed party, but not have it looked like Party City threw up in my house.  My goal was to not have it look like that happened, and I am happy with the outcome.

We also had a Curious George bounce house from www.jumpforfun.com out in our backyard.  This was the best money spent on the whole day!  Our son was over the moon!  He bounced and bounced and just had a blast.  I highly recommend splurging on one if you have an energetic child like we do.  It just made him so happy. 

A gigantic thank you to Larry Berger Photography, who took all these dazzling and drool worthy pictures.  A picture is worth a thousand words, and these all say "Yummy yummy yummy!!"

Overall, it was a lot of work, a lot of research, a lot of driving to a million different stores to get the best deal (I bargain searched, I really tried to do this as inexpensive as possible), and a lot of man hours.  In the end, it was SOOO worth it.  I think our son had a great time, he enjoyed the bouncer, the presents, the blowing out of birthday candles, and probably all the attention in general.  Heck, for a 3 year old, I guess you can't expect much more :)

Happy Birthday Curious Liam!  


Related Posts Plugin for WordPress, Blogger...